Video Transcription
Over time, accidents can occur in your home that require minor repairs. This video will walk you through how to replace wall board, a common building material in manufactured homes.
Before you start removing the damaged wall panel, you’ll want to first call your home manufacturer to see if they have matching panels available. You’ll want to have your home’s serial number ready when calling the home building facility so they can quickly look-up the materials. The serial number can be found on the data plate in your closet, utility area, or underneath your kitchen sink.
Once you have a replacement panel, you’re ready to install it. To do this, you will need the following materials and tools:
Materials:
- Replacement panel
- Molding to fit over the edge of panel
- Panel adhesive
- 1 and ¼ inch finishing nails
Tools:
- Level
- Measuring tape
- Hammer
- Keyhole saw
- Power saw or handsaw
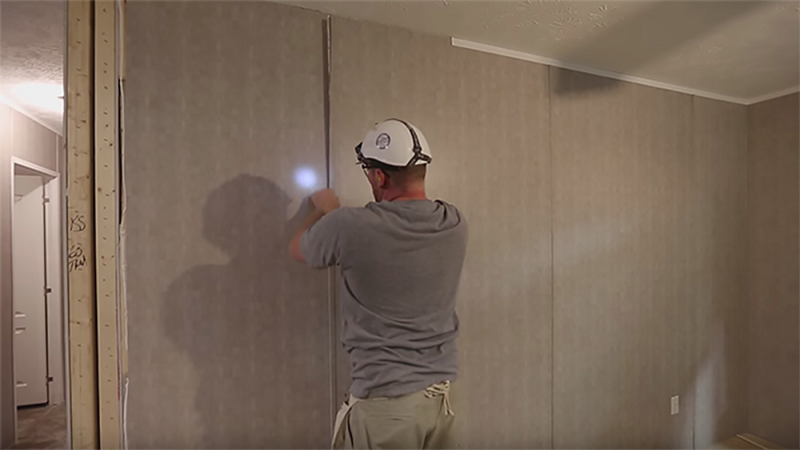
Step 1. Remove the damaged trim and panel. To do this, firmly hit the panel with your fist or a mallet to loosen the glue and find the studs. Remove all fixtures. Run a knife horizontally through the middle of the damaged panel to make it easier to remove and minimize clean up. Then pry the panel off in two pieces.
Step 2. Prepare the wall for the new panel. Using a putty knife, chip away the excess glue to ensure you have a tight seal on the repair. Also remove any other debris, fasteners and nails.
Step 3. Install the new panel. Apply the panel adhesive on the exposed wood and place the new panel on top. Hammer in the finishing nails to secure the panel.
Step 4. Add the finishing touches. Replace the molding over the edges of the panel and paint if needed.
With a little handiwork and know-how, you can easily make simple repairs around your home without having to hire an expert.


